_edited.png)
Information and Tips about the M-1 & F-1 Visa
What 's the difference between an F and M Visa?
F-1 and M-1 students share the same primary purpose for coming to the United States, which is to successfully complete a program of study certified by the Student and Exchange Visitor Program (SEVP). However, F-1 students enroll in more traditional academic programs, while M-1 students enroll in vocational programs.
F-1 Visa:
The F visa is classified into F1 and F2 visas. F1 visas are used by non-immigrant students for Academic and Language training Courses. The F2 visas are used by the dependents of F1 visa holders. Spouse and unmarried minor children are considered dependents of the F1 visa holder. The F2 dependents must meet all the eligibility requirements and must provide evidence that they will be able to support themselves financially and will leave the United States once the student’s course concludes.
-
Are in an academic program, often with a core academic curriculum.
-
Are eligible for annual vacation.
-
Can change their major or program of study.
-
Can transfer anytime during their program or begin a new program after completing one.
-
Can work during and after their program of study, with permission.
-
Can participate in up to four types of work including, on-campus, off-campus for economic hardship, curricular practical training (CPT) and optional practical training (OPT).
-
Can remain in the United States for the duration of their program of study
-
Can stay in the United States for up to 60 days after their program or OPT end date.
M-1 Visa:
The M visa is classified into M1 and M2 visas. The M1 visa is used by a person who wishes to do a non-academic or vocational course. M2 visas are issued to the dependents (spouse and unmarried minor children) of M1 visa holders. M2 dependents must meet all eligibility requirements and provide evidence that they will be able to support themselves financially and leave the United States once the student’s course concludes.
-
Are in a vocational program, typically without a core academic curriculum.
-
Are not eligible for annual vacation.
-
Cannot change their major or program of study.
-
Can only transfer in the first six months after arrival and must apply to U.S. Citizenship and Immigration Services for transfer by filing Form I-539, “Application to Extend/Change Nonimmigrant Status.”
-
Can only work after their program of study ends and with permission.
-
Can participate in one type of work, practical training (PT), one month for every four months of their program.
-
Can only remain in the United States for up to one year unless they apply for an extension.
-
Can stay in the United States for up to 30 days after their program or PT end date.
For more information, read the official USCIS page, which goes into more detail.
Basic Required Documents:
-
Passport – must be valid for at least 6 months from the program start date on your I-20. Verify that there are no errors in your name, birth date, etc.
-
Receive your Form I-20 from your chosen school and sign page 1.
-
Pay your I-901 fee at www.fmjfee.com. Print out the confirmation of payment (receipt).
Apply for a Visa
New and continuing students traveling outside the U.S. with an expired F-1 visa or without one will need to obtain a visa to reenter the U.S. Learn more about visas at travel.state.gov.
Obtaining a visa requires attending an in-person interview at a U.S. consular office and may take several weeks to process. The earliest you can obtain a visa is 120 days before the start date on your I-20. Give yourself plenty of time and plan accordingly.
Schedule your Visa Appointment
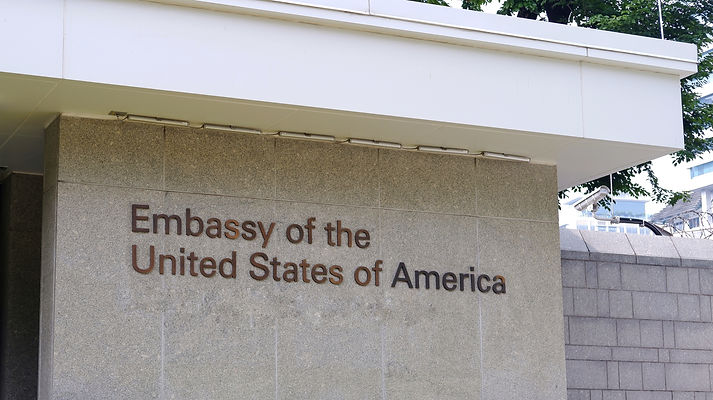
1. Find the U.S. Embassy or Consulate near you.
2. Fill out the DS-160 non-immigrant visa application and upload your visa photo. Print out the confirmation page.
3. Pay the visa appointment fee.
4. Schedule an interview appointment.
Note: It is recommended that you, the applicant, do this process yourself. Using an agent may be helpful, but the consular officer may have a negative view of applicants who rely on one. You will need the following to schedule your appointment:
-
Your SEVIS institution school code.
-
Pay the mandatory I-901 SEVIS fee.
Review the U.S. Department of State's DS-160 Frequently Asked Questions.
Make sure to set all your social media profiles to public (TikTok, Instagram, Facebook, X, Pinterest, Snapchat, Reddit, etc). Due to the new vetting process for visas, it is required that consular officers review the online presence of visa applicants to determine eligibility.
Required Documents for your interview
The list of required and recommended documents may be different for each consular office. Review the requirements for the U.S. embassy or consulate that you will visit before your interview and come prepared
For New - initial students
-
Passport with expiration 6 months or more from the date of entry to the US
-
Proof of admission to your school or college
-
I-20 Form signed by your institution's international student adviser
-
Documents proving intent to return to the home country after completion of study
-
Financial support evidence
-
All U.S. Department of State forms and documents listed on the U.S
-
Embassy/Consulate website (non-refundable visa application fee and photographs)
For continuing students, in addition to the above documents, we also recommend
-
Valid I-20 with a valid travel signature, signed by your institution's international student adviser
-
Transcripts from all U.S. institutions
-
All previously issued I-20s
The Students on approved OPT should bring all of the above, as well as
-
Employment Authorization Document (EAD) card
-
Job offer letter from employer/proof of employment
Tips to Prepare for your Interview:
-
Bring all required documents: Review requirements and recommendations for the U.S. embassy or consulate you will attend.
-
Be clear and direct: The F-1 visa interview is very quick (1-2 minutes only). We recommend that you directly answer the questions you are asked and do not provide any additional information.
-
Prove financial stability: Be able to explain where your money is coming from. If your parents will sponsor you, be able to explain what your sponsor's job/business is, what their income is, and how your sponsor will send/transfer money to you for tuition fees and other expenses.
-
Have a plan: Be able to explain clearly and briefly why you chose aviation as a career, what you will train, what you will do after getting your licenses and ratings (transfer, return home), and what plans you have when you return home. How will your studies help you when you return to your home country?
-
Show non-immigrant intent: A common reason for denials is that the applicant has not convinced the officer of non-immigrant intent (meaning you do not intend to remain permanently in the U.S.). The officer will be looking for any signs that you might want to remain in the country after your studies. Be able to explain and show that you DO NOT plan to stay in the U.S indefinitely. The following are helpful: Deeds for family-owned properties or businesses. Job offers in your home country for when you return
-
Speak for yourself: Only you, as the applicant, will be permitted to be in the interview. Parents, agents, and others who may be there to support you will have to wait outside. Be prepared to speak for yourself.
What NOT to do:
-
Do not read a script: Do not memorize a script or the school's information and read it to the officer. They want to have a conversation with you and understand your goals.
-
Do not bring unnecessary documents: The officers will only look at the required documents. Any extra documents (awards, letters from school) will not be reviewed.
More helpful tips:
-
Contact an Education USA office near you for more tips.
Citizens of Canada & Bermuda:
Canadian and Bermudan Citizens do not need an F-1 visa to study in the U.S. Once you have your valid I-20 form, present the following at the port of entry:
1. Proof of Canadian/Bermudan Citizenship (For example: a Canadian/Bermudan passport)
2. Original valid I-20 FormProof of SEVIS I-901 fee payment
3. Proof of financial support
4. Proof of ties to Canada – ex, leases, contracts in your name, family businesses, employment, etc.
Upon entry, you will be issued an I-94 Admission/Departure record, which is available online. This document should verify that you have been admitted into the country on an F-1 status. If you are arriving through a land border, you may receive a physical I-94 card, and there may be a fee. To pay the fee or look up your I-94 record, visit the U.S. Customs and Border Protection I-94 website.
For more information, visit the U.S. Department of State's Citizens of Canada and Bermuda information page.
Disclaimer: Volyra and/or Alea One or its brands are not affiliated with, endorsed by, or officially connected to the United States government and any federal agency. The content and logos displayed on this website are meant to be informative. This is not a U.S. government website.
